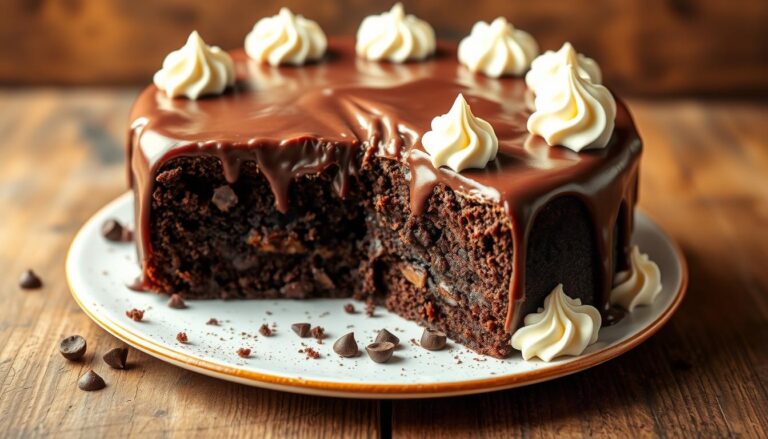
How to Make the Perfect Bento Cake: Easy Step-by-Step Recipe
Make the Perfect Bento Cake

Bento cakes are taking the dessert world by storm! These trendy mini cakes, inspired by Korean dessert culture, are not just adorable but also incredibly versatile. Perfectly sized for one or two people, bento cakes make excellent gifts and are ideal for small celebrations like birthdays, anniversaries, or even as a thoughtful treat for yourself.
What makes bento cakes so special is their unique combination of minimalist design, portability, and endless customization options. They are often packed in compact boxes, which add to their charm and convenience. Whether you’re a baking enthusiast or a beginner, creating a bento cake at home can be both fun and rewarding.
In this guide, you’ll learn everything you need to know about making the perfect bento cake. From the essential ingredients and tools to step-by-step instructions and creative decorating ideas, this post will help you master the art of these delightful mini cakes. Let’s get started!
What Is a Bento Cake?
Bento cakes originated from Korea, where they became a popular dessert trend for their cute, compact size and aesthetic appeal. These cakes are often made with soft sponge layers and are decorated with simple yet elegant designs that fit perfectly into a small box—just like a bento meal.
Characteristics of Bento Cakes
- Size: Typically 4 inches in diameter, making them perfect for personal portions.
- Design: Minimalistic and charming, often featuring pastel colors and small decorations.
- Portability: Packaged in adorable boxes, ideal for gifting or on-the-go desserts.
Popular Occasions for Bento Cakes
- Birthdays and anniversaries
- Holidays and small gatherings
- Unique gifts for loved ones
Want to explore another creative dessert? Check out our Strawberry Cheesecake Cookie Recipe for more inspiration!
Essential Ingredients and Tools for Bento Cakes
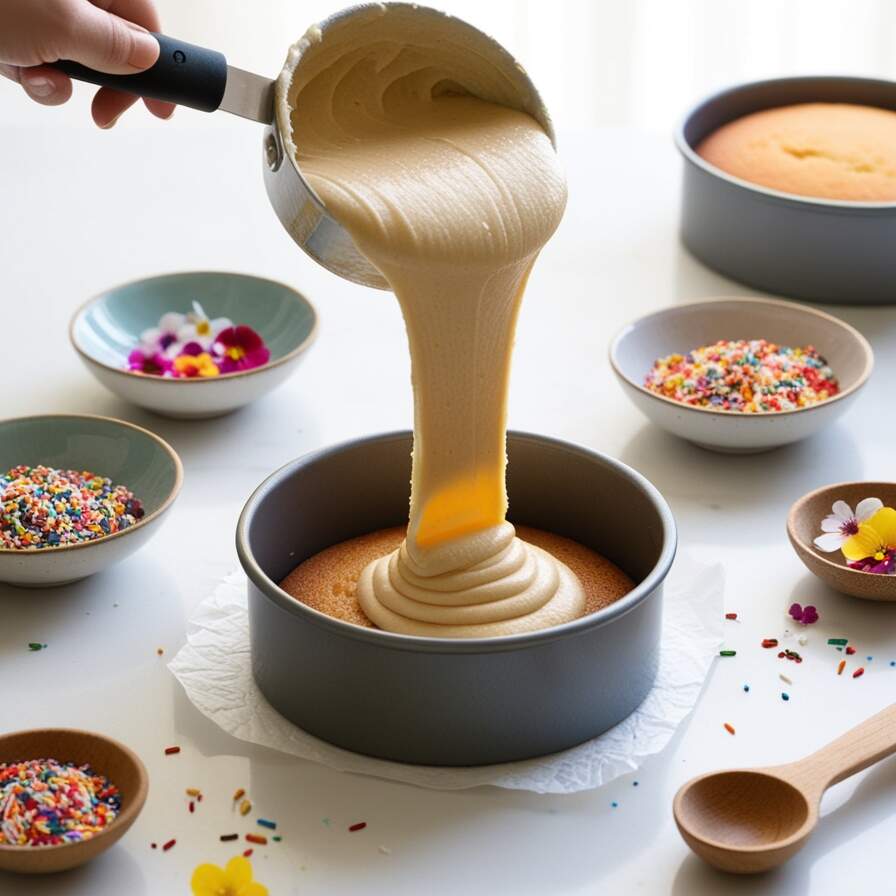
Creating the perfect bento cake starts with gathering the right ingredients and tools. Whether you’re aiming for a simple design or an elaborate creation, having these essentials will make the process smooth and enjoyable.
Ingredients You’ll Need
- Cake Base: Flour, sugar, eggs, butter, baking powder, and your favorite flavoring (e.g., vanilla or cocoa powder).
- Frosting: Whipped cream or buttercream, depending on your preference.
- Decorations: Food coloring, sprinkles, edible flowers, or piping gel for personalizing your cake.
For tips on crafting homemade frostings, check out our guide to How Do You Make Hemp Seed Butter?.
Tools You’ll Need
- Compact cake tins (approximately 4 inches in diameter).
- Piping bags and nozzles for decorative designs.
- Offset spatula for smooth frosting application.
- Mixing bowls and a whisk or electric mixer.
If you’re new to baking and need a reliable cake tin, we recommend checking out this comprehensive guide on baking tools from Serious Eats.
Having these essentials ready will set you up for success as you dive into creating your first bento cake masterpiece.
Step-by-Step Guide to Making the Perfect Bento Cake
Now that you have your ingredients and tools ready, it’s time to start baking! Follow these simple steps to create a bento cake that’s as delicious as it is adorable.
Step 1: Preparing the Cake Base
- Choose Your Flavor: Popular options include vanilla, chocolate, and red velvet.
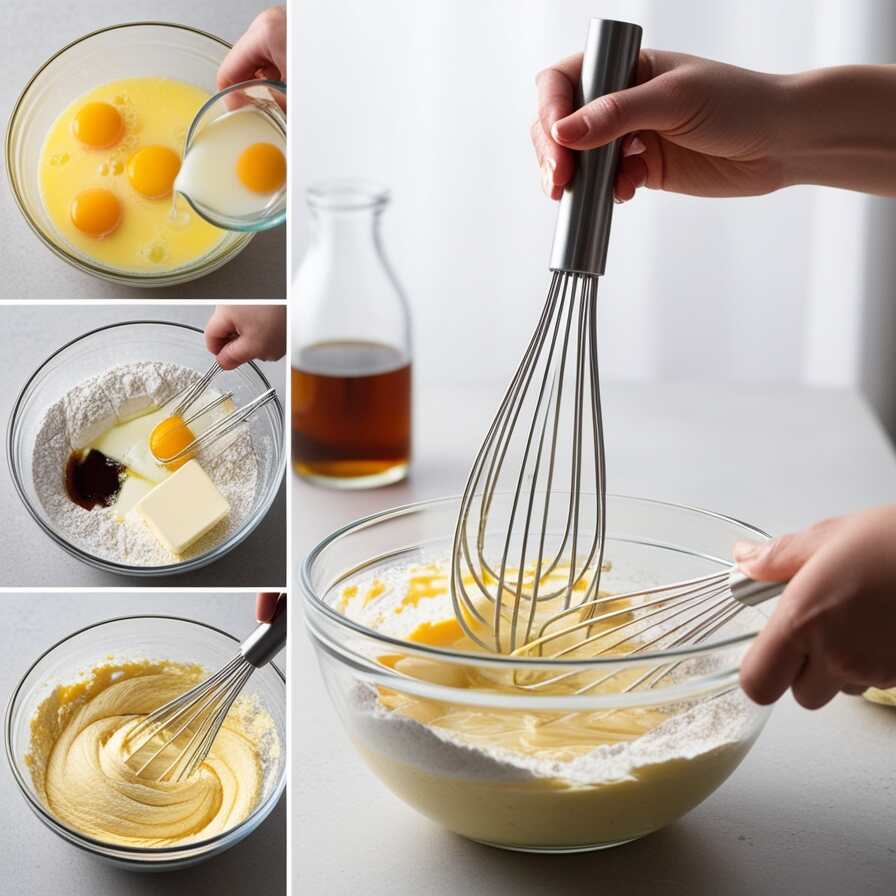
- Mix Your Batter: Combine flour, sugar, eggs, butter, baking powder, and your chosen flavoring until smooth.
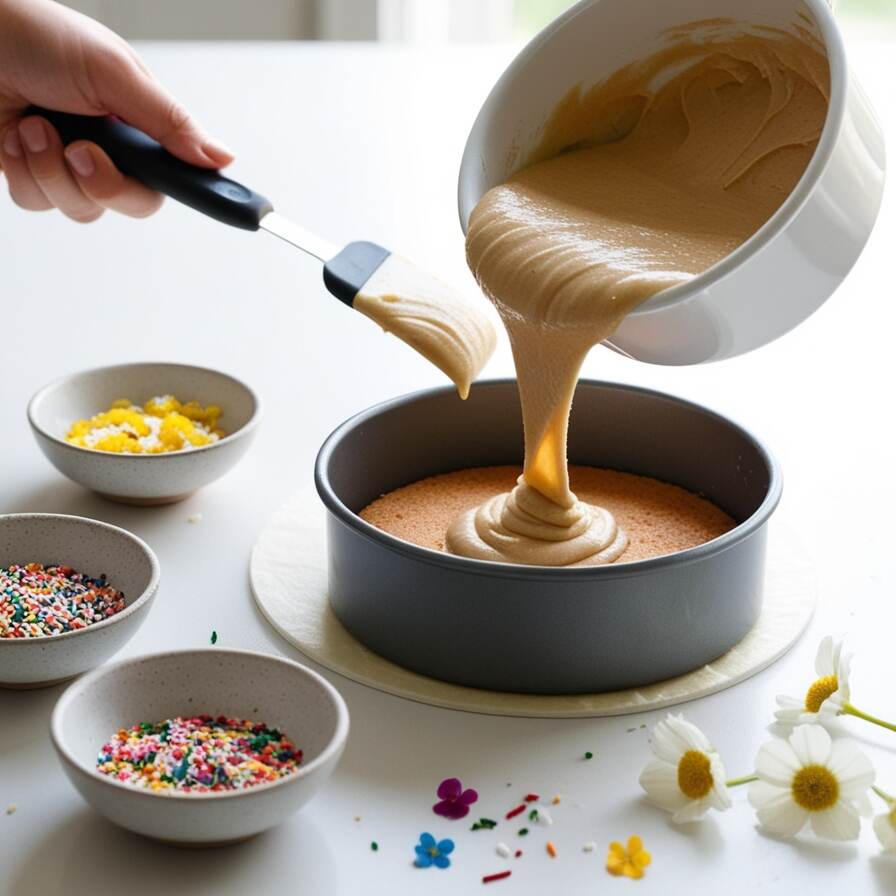
- Bake: Pour the batter into compact cake tins and bake at 350°F (175°C) for 20-25 minutes or until a toothpick comes out clean.
Step 2: Creating the Frosting
- Whip the Buttercream or Whipped Cream: Use an electric mixer to achieve a light, fluffy texture.
- Add Color: Mix in food coloring to match your design preferences.
Step 3: Assembling the Cake
- Layer the Cake: Once cooled, slice the cake into two or three layers.
- Frost the Layers: Spread an even layer of frosting between each cake layer.
- Coat the Cake: Apply a thin crumb coat and refrigerate for 15 minutes. Then, add a final smooth layer of frosting.
Step 4: Decorating Your Bento Cake
- Use Piping Bags: Create elegant designs or write messages.
- Add Finishing Touches: Top with sprinkles, edible flowers, or small decorations.
Looking for more creative cake ideas? Check out this Easy Crab Brulee Recipe for savory inspiration.
For additional frosting techniques, explore this video tutorial on decorating cakes.
Creative Decorating Ideas for Your Bento Cake
Decorating a bento cake is where you can let your creativity shine! Here are some unique ideas to make your cake stand out:
Minimalistic Designs
- Use pastel colors and smooth finishes for an elegant, simple look.
- Add small edible flowers or geometric shapes for a modern touch.
Personalized Messages
- Write a special note or name on the cake using a piping bag.
- Add dates, initials, or cute emojis for a personal touch.
Seasonal Themes
- Create designs inspired by holidays like Christmas, Valentine’s Day, or Halloween.
- Use seasonal fruits, such as strawberries in spring or figs in autumn, as toppings.
Artistic Techniques
- Experiment with watercolor effects using edible food coloring.
- Try piping intricate patterns like lace or floral designs.
Want more inspiration? Discover how to elevate your plating skills with our Chicken Apple Sausage Recipe.
For advanced decorating techniques, check out this external resource on cake decorating trends.
Storing and Serving Your Bento Cake
Once your bento cake is beautifully crafted, it’s important to store and serve it properly to maintain its taste and appearance. Here’s how you can ensure your mini masterpiece stays fresh and delicious.
How to Store Bento Cakes
- Short-Term Storage:
If you plan to serve the cake within 24 hours, keep it in an airtight container at room temperature. This prevents the cake from drying out while keeping the frosting intact. - Refrigeration:
For longer storage, place the cake in the refrigerator. Cover it with plastic wrap or store it in a cake box to protect it from absorbing fridge odors. Bring it to room temperature before serving to enhance its flavor and texture. - Freezing:
You can freeze bento cakes for up to 2 months. Wrap each cake tightly in plastic wrap, followed by a layer of aluminum foil, and store them in a freezer-safe container. Thaw overnight in the refrigerator before serving.
Tips for Serving Bento Cakes
- Room Temperature is Key: Always serve bento cakes at room temperature to ensure the frosting is creamy and the sponge is soft.
- Presentation Matters: Use decorative boxes or plates to make the serving experience even more special. Adding a small note or ribbon can elevate the gift-like charm of the cake.
- Portion Control: Bento cakes are designed to be single-serve or for sharing with one other person. Serve them as they are, without cutting, for the most authentic experience.
For more ideas on presenting desserts with flair, explore our Strawberry Cheesecake Cookie Recipe.
By following these storage and serving tips, you’ll ensure your bento cake remains a delightful treat from the moment it’s made to the last bite. Would you like to explore ideas for creating bento cake gift boxes or additional serving tips? Let me know!
Tips for Customizing Your Bento Cake
One of the best parts of making a bento cake is the opportunity to personalize it according to your preferences or the occasion. Here are some creative customization ideas to inspire you.
Flavor Variations
- Classic Favorites: Experiment with flavors like vanilla, chocolate, or red velvet.
- Fruity Options: Add fruit purees like strawberry, lemon, or mango to the batter or frosting for a refreshing twist.
- Exotic Touches: Infuse the cake with unique flavors such as matcha, Earl Grey tea, or lavender.
Frosting Alternatives
- Swiss Meringue Buttercream: For a silky, less sweet frosting option.
- Ganache: Use chocolate ganache for a rich and glossy finish.
- Cream Cheese Frosting: Ideal for red velvet or carrot cake versions.
Fun Fillings
- Fruit Layers: Add fresh fruits like berries or sliced bananas between the cake layers.
- Jam or Compote: Spread a layer of jam, such as raspberry or apricot, for added sweetness and tang.
- Crunchy Textures: Include crushed nuts or cookie crumbs for a delightful crunch.
Unique Toppings
- Drip Design: Use a colored ganache to create a stylish drip effect.
- Edible Art: Top the cake with edible prints or hand-painted designs.
- Surprise Elements: Add a sprinkle of edible glitter or a hidden candy center for an element of surprise.
Need more dessert ideas? Check out our Strawberry Cheesecake Cookie Recipe for another crowd-pleasing treat.
By incorporating these ideas, you can make a bento cake that’s uniquely yours. Whether it’s for a birthday, holiday, or just a special indulgence, the possibilities are endless! Let me know if you’d like to expand this further or move to the final wrap-up.
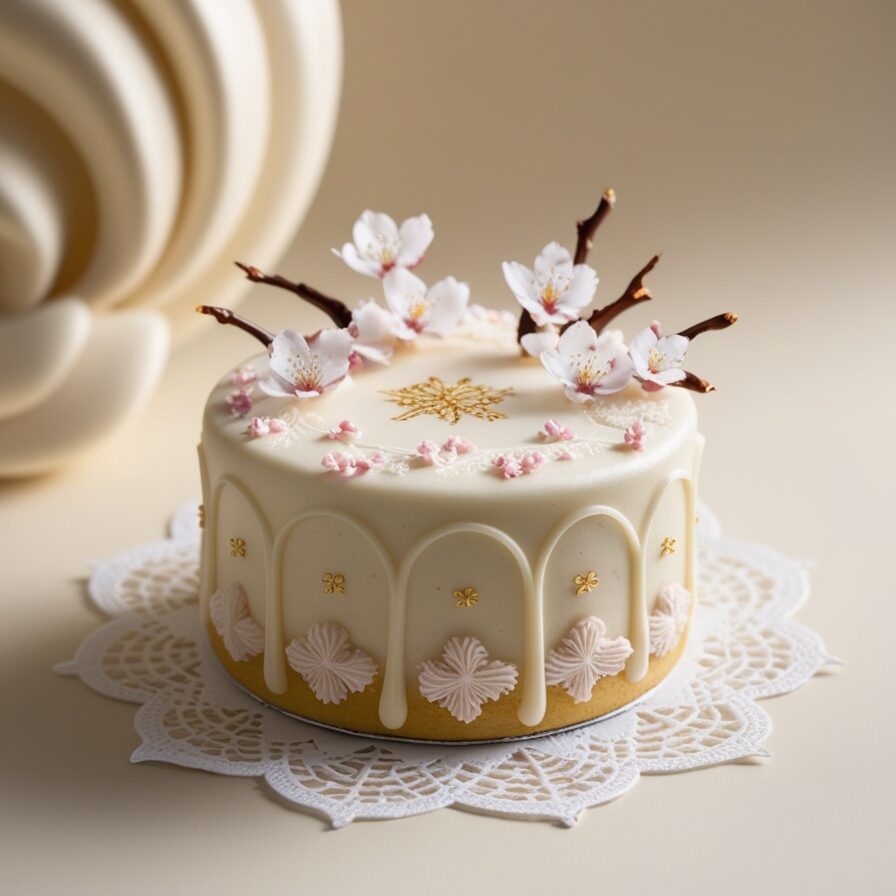
How to Make the Perfect Bento Cake: Easy Step-by-Step Recipe
Ingredients
Method
- Prepare the dry ingredients: In a mixing bowl, sift together flour, sugar, baking powder, and salt. Set aside.
- Mix the wet ingredients: In another bowl, whisk together eggs, milk, melted butter, and vanilla extract.
- Combine wet and dry ingredients: Gradually add the wet mixture to the dry ingredients, stirring until well combined and smooth.
- Prepare the baking pan: Grease a small round cake pan or line it with parchment paper. Pour the batter into the pan.
- Bake: Preheat the oven to 350°F (175°C) and bake for 25-30 minutes, or until a toothpick inserted into the center of the cake comes out clean.
- Cool the cake: Let the cake cool for about 10 minutes before removing it from the pan.
- Decorate: Once the cake is fully cooled, frost with buttercream, then top with fresh fruit and edible flowers.
- Serve: Slice and serve as a cute and delicious individual cake!
Notes
- Customizing the decoration: Feel free to add your favorite fruits, edible flowers, or even themed decorations to personalize your Bento cake.
- Storage: Bento cakes can be stored in an airtight container for up to 2 days at room temperature or up to 5 days in the refrigerator.
- For a lighter version: Consider using a sugar substitute or reducing the frosting amount.

